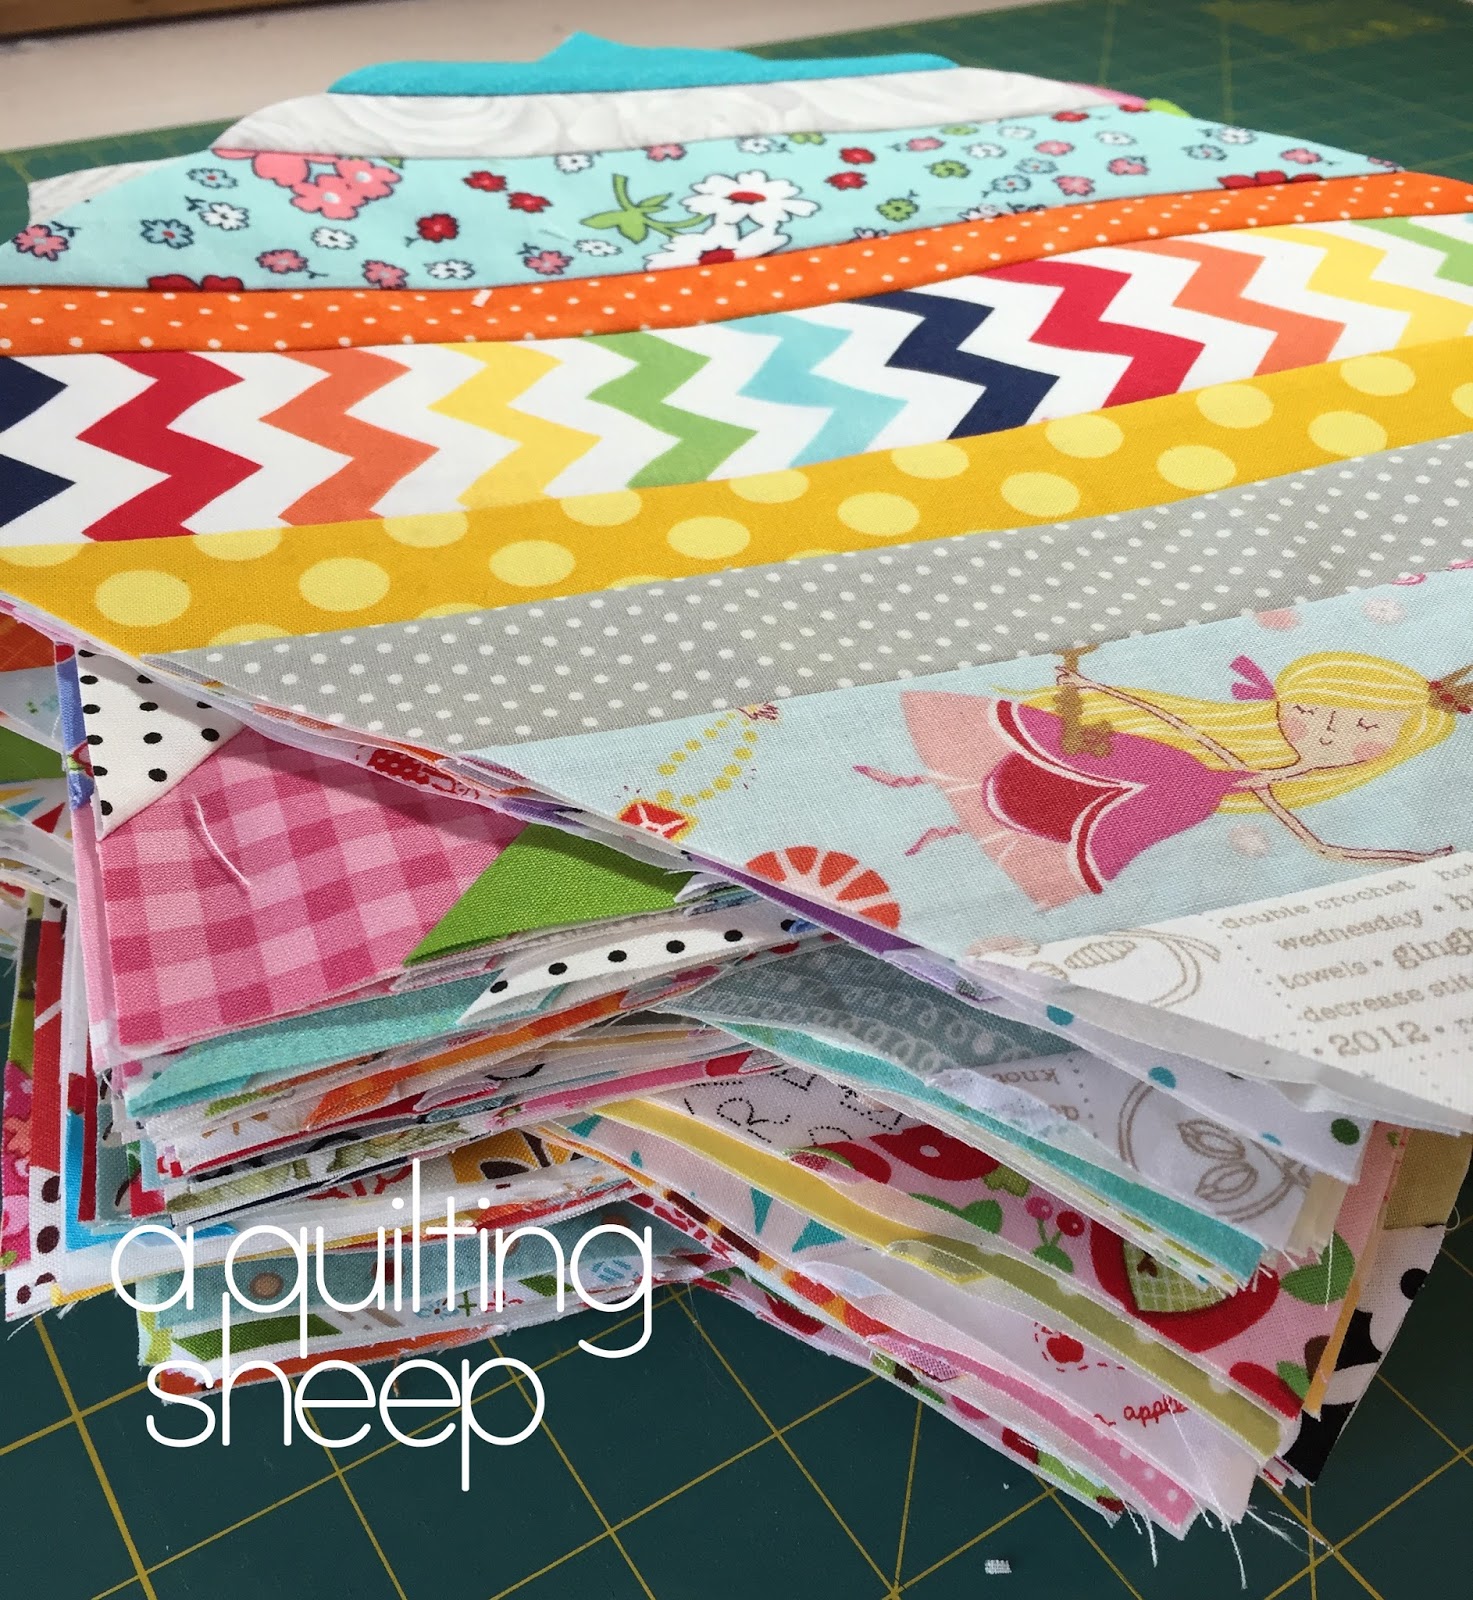
Every once in a while, I feel the need to purge and reorganize the scrap piles in my sewing space. I got to looking at my string box and it was crammed full of scrappy strings. It was a good place to start! When I make string blocks, I like to use a fabric foundation. Muslin or old sheets are good enough for me. I also like to use strings that are no wider than 2 ½" and no narrower than 1 ¼". As I sewed, I tossed the ones that were too narrow and made decisions on what ones I wanted to use and which ones could be set aside for another project, or *gasp* tossed into the trash. I like my foundation fabrics to be cut into 9 ¾" squares. After they are all covered into the strings, I trim them to 9 ½".
Here is a pile of beautiful string blocks! I ended up making 112 blocks, enough for two 63" x 72" quilts. My string box looks much better and now there is room to start saving them again!
This is a picture of one of them. They are both essentially alike. =) I did a very simple cross hatch on both of the quilts. Nothing fancy was needed, in my opinion.
Since the goal was to get rid of scraps and stash, and the quilts looked so much alike, I decided to keep the theme going for the backs. I didn't have enough of one fabric that was enough to cover both of them. I knew I would need to piece the back with several fabrics, but how to figure all that out had me stumped.
Christa @ChristaQuilts to the rescue!! Christa has a great lay out tutorial to make a clever pieced back. I only had to adjust the math a bit to make it work for my quilts. Yay! Here is a link to
Christa's tutorial.
I had just enough to make them both the same except for this one part, which is okay. If they go to the same family with two little girls, which is the plan, its nice to have a way to tell them apart.
When I use scraps like strings, it almost feels like I made quilts that were free, you know? How do you like to use your scraps? Please share! I am always looking for new ideas. =)
I probably won't post again until after Thanksgiving, so I want to take the time to thank you all for your support and encouragement. I am thankful to each and every one of you, those who comment and those who like to only read and stay in the back ground. I appreciate you all....