My kitchen gets an update...

December 31, 2015

I hope you all had a happy Christmas. =) Now its time to ring in the new year! We are bringing in 2016 with a huge project. I am finally getting a new kitchen floor! During Christmas week, my husband's work place shuts down. Four years ago this week, we took that time to repaint the kitchen and add wainscoting on the walls. Two years ago we were going to replace the disgusting flooring, however, life got in the way. I was thrilled when Russ said we could do the floor this year! Woo hoo!! 


After weeks of researching and discussing our options, we decided to go with Snapstone porcelain tiles and chose the walnut planks. Eventually we will refinish the hard wood floor on the other side of the kitchen. Someday, someday, someday. A little bit at a time is how we roll. 


 The half bath off the kitchen will have the same floor. He has it almost done. You can see the ugly flooring we had. See that black line? That is the vinyl floor seam and it separated, so that ugly black line was always there. Ugh...Eventually this bathroom will get a whole new makeover. I want to have tiles on the walls. That will take a year or two, probably. For now, a new floor makes me very happy!


This is the area that will take some thought and planning. The former owners added this peninsula counter that could be flapped down to get it out of the way. In all the last 18 years I have lived here, I have never had it down. There isn't enough counter space without it. I jerry rigged up a solution to get more drawer space. The plan is to build a new cupboard area in the place of the cabinet that is there. I need drawers! We are exploring the options from Ikea cabinets, to unfinished cabinets that we paint, to transforming a dresser into a peninsula. We want it to look completely different from the cupboards because trying to match them would be difficult and then they won't ever look right. When that gets decided, new counters can go in. That's a whole other major decision! Now, if money were no object, the decision would be much easier. ;-) We will update the cupboards with new hardware, too. Just to give them a better look. 

That's what is going on around here! I haven't touched my sewing machine in weeks! I hope to get back to creating with fabric very soon! 

Have a happy new year, everyone! Thank you so much for your support and encouragement. =) I am very grateful for all of you! Truly!


 photo 2015_sig_zpsfk5a9zt3.png

Bonnie and Camille

December 21, 2015

I have a slight addiction to Bonnie and Camille @Thimblebossoms fabrics, don't you think? 


And to make matters worse! Bonnie and Camille announced today that Moda is going to release a reprint of Ruby, with a few Bliss prints mixed in, after the new year!! Can you guess what I will be buying with my Christmas money? =D


Have a very Merry Christmas, everyone!!!

 photo 2015_sig_zpsfk5a9zt3.png

Double Nickel Birthday

December 13, 2015

Last week, I celebrated a birthday. 55 years old! Ouch! But rather than dwell on that, I want to dwell on the gifts I received from the birthday swap I am privileged to be a member of which is hosted by Capi and Deb aka: Chosen Sisters. (Be sure to check out their Easy shop!!)
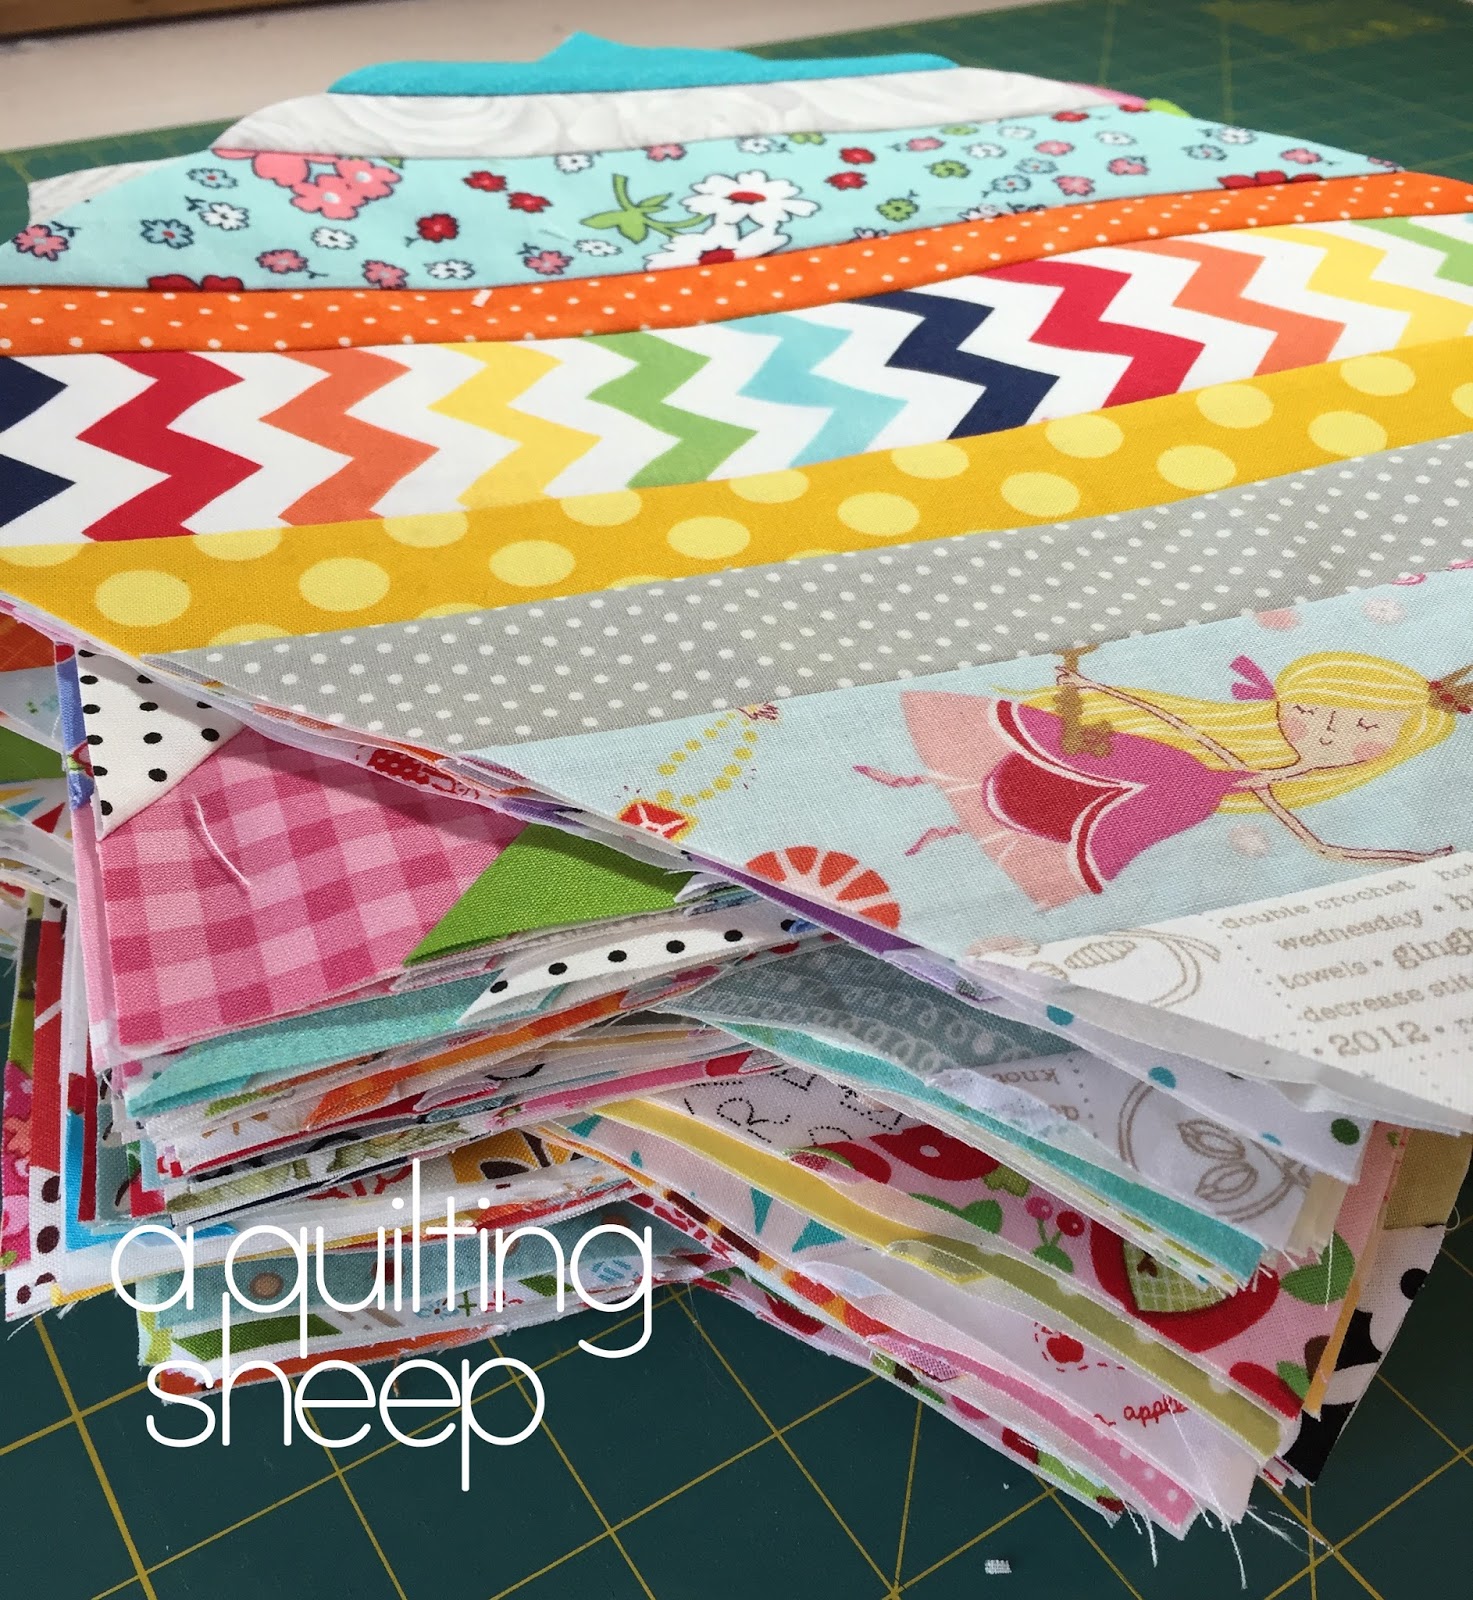
Look at all this presents!!! Overwhelming!


The post is very picture heavy. =) I tried to keep it in control, but it is hard! These ladies spoiled me well and I want you to see their talent!! 

This was from Capi. =) You can find her here on Instagram. One thing I asked for was a Winter/Christmas door hanging. Isn't he cute?


He is perfect!!


Capi also made me this darling pincushion. =D 


This pile of loveliness is from Deb. You can find her here on Instagram.


Here is a better picture of the little sheep. =) She has joined my other collection of sheep here in my sewing room. Precious!!


I also want you to see a better picture of the sheep hand stitching Deb did on the zippered pouch and needle book. I am in awe of her talent...


This is from Jeannie. You can find her on Instagram. Another suggestion I gave was a new make up bag. Jeannie made me one, but I think its too nice to put make up in! For now I have it in my sewing room so I can look at it. I will use it, eventually, for something! One other thing I want to highlight in her pile of presents is the journal cover. It hold the small size legal pads. I love using those for keeping notes in as I am brainstorming quilt ideas. This will be used daily, for sure!!


A closer look at the inside of the case Jeannie made. Isn't it awesome! I really love it!


Next up, Renee. Renee blogs @ Sewn With Grace and you can also find her on Instagram. She has a new Easy shop, as well. Be sure to take a look. =) 

Renee spoiled me a new table topper, a 30's fabric panel, that I folded so you could see the sheep, as well as some fat quarters, a book and a large blank journal. I can't wait to sew with that sweet fabric!!


Last, but not least, Pennie. Pennie can be found on Flickr where she showcases the things she makes. She has some super cute stuff!! Pennie is known to make folders out of fabric. It is amazing!! It holds a manilla envelope to store patterns or any other papers you have laying around. I have never seen anything like it! As you can see, she also made me a fabric basket filled with goodies and a zippered pouch. =) 


Whew!! This was a birthday celebration like no other I have ever experienced!! Its been a long, long time since I have been so spoiled. I can't wait to be a part of the spoiling for Capi, who is next in line. =) 

Thank you, ladies, for all the wonderful gifts and for sharing your talent with me. =) 

 photo 2015_sig_zpsfk5a9zt3.png

Hello!!

November 30, 2015

Hello, friends! I hope you all had a great Thanksgiving! Ours was nice and quiet. I like them that way. =) 

I did get a bit of sewing done during the long weekend. Do you remember this top I made in September? I had set it aside to let it marinate. I needed to think about how I wanted to finish it. 


Today, I took another look at it and in a very short amount of time, it morphed into this darling quilt top. Perfect for a little boy. =) Now to figure out what fabric to use for the back and get it quilted. 


I also made this scrappy star using the pattern Adorn in the book Simply Retro. I would love to make a whole quilt using this idea. Its another great way to use up those strings. 


In a few hours it was quilted and now hangs on my front door for the Christmas/winter season. =)


After replacing my walking foot for the 5th time, I have a question. Have you had to replace your walking foot? I wear one out about every year. Isn't that crazy!? I need to learn to free motion quilt. I have been saying that for years and I have yet to do that! ;-) Maybe this year! 

Have a happy week, everyone!


 photo 2015_sig_zpsfk5a9zt3.png

String Quilts

November 19, 2015

Every once in a while, I feel the need to purge and reorganize the scrap piles in my sewing space. I got to looking at my string box and it was crammed full of scrappy strings. It was a good place to start! When I make string blocks, I like to use a fabric foundation. Muslin or old sheets are good enough for me. I also like to use strings that are no wider than 2 ½" and no narrower than 1 ¼". As I sewed, I tossed the ones that were too narrow and made decisions on what ones I wanted to use and which ones could be set aside for another project, or *gasp* tossed into the trash. I like my foundation fabrics to be cut into 9 ¾" squares. After they are all covered into the strings, I trim them to 9 ½". 

Here is a great tutorial from Craftsy that explains the process.

Here is a pile of beautiful string blocks! I ended up making 112 blocks, enough for two 63" x 72" quilts. My string box looks much better and now there is room to start saving them again!


This is a picture of one of them. They are both essentially alike. =) I did a very simple cross hatch on both of the quilts. Nothing fancy was needed, in my opinion. 


Since the goal was to get rid of scraps and stash, and the quilts looked so much alike, I decided to keep the theme going for the backs. I didn't have enough of one fabric that was enough to cover both of them. I knew I would need to piece the back with several fabrics, but how to figure all that out had me stumped. Christa @ChristaQuilts to the rescue!! Christa has a great lay out tutorial to make a clever pieced back. I only had to adjust the math a bit to make it work for my quilts. Yay! Here is a link to Christa's tutorial


I had just enough to make them both the same except for this one part, which is okay. If they go to the same family with two little girls, which is the plan, its nice to have a way to tell them apart. 


When I use scraps like strings, it almost feels like I made quilts that were free, you know? How do you like to use your scraps? Please share! I am always looking for new ideas. =) 

I probably won't post again until after Thanksgiving, so I want to take the time to thank you all for your support and encouragement. I am thankful to each and every one of you, those who comment and those who like to only read and stay in the back ground. I appreciate you all....

 photo 2015_sig_zpsfk5a9zt3.png


Laptop Sleeve

October 26, 2015

After months of saving, I bought a new MacBook Pro. =) Of course, keeping my investment safe and pretty is a must, so a Google search to find just the right sleeve to make for it was first order of business. 

I originally planned on using the linen Mochi Dot fabric by Moda as the lining, but the fabric I wanted to use for the outside was directional and I couldn't wrap my brain on how to make it work. I ended up over thinking it for days. I finally forced myself to make a decision on the pattern and fabric and just do it and get over myself. Do any of you over think things like that? 


The inside is also linen blend by Moda. For the binding and ties I used lime green grunge. 


The pattern is a free by Robin Quilts, etc. I chose to not round the top flap like her pattern shows, mostly because I didn't want to cut the binding on the bias, and I also like the clean lines. I also added a long wrap around tie (its tacked down on the flap so it won't get lost) instead of using Velcro or a magnet for the closure. It works for me. =) 

The sleeve I really wanted to make was this one with a zipper closure. You can find that tutorial on Crap I've Made. The zipper part was intimidating me and I needed something before I take it to work with me this week. Simple and easy was the way to go. Maybe someday I will give this pattern a try.

Source: Crap I've Made
Before I sign off, I want to thank all of you for sharing in my excitement over my quilt design being on Craftsy. For those who commented and didn't get an email from me personally, it is because I didn't have an email to respond to, but your comments were greatly appreciated. =) You all made my day!

Until next time, have a happy week! 

 photo 2015_sig_zpsfk5a9zt3.png

Craftsy and Me

October 21, 2015

Last Spring, I was contacted by the Robert Kaufman company asking if I would be willing to share a quilt I designed with them so they could make a kit to sell on Craftsy. Of course I said YES!! 

The back story, In January of 2014, I participated in a blog hop organized by Madame Samm called, Wake Up to Kona Solids. If you look in my sidebar, the most popular post on my blog was from that blog hop. It was that quilt that caught the eye of the Robert Kaufman people. 

If you follow me on Instagram, this picture was posted in August when I was knee deep in trimming the half square triangles for the quilt they asked me to make for them and to test the pattern they wrote for it. 


After I finished the top, I sent it to their long arm quilter to have it quilted and photographed. I am still pinching myself! Aren't the photos amazing!!?

source

source


No, I am not famous and I never will be, but I am honored to have a quilt I designed featured on Craftsy and for a day or two, I think I will walk on air. =)

Here is the link to my quilt, Amy's Stars featuring Robert Kaufman Kona Solids. =) 

Have a happy Wednesday!! 


 photo 2015_sig_zpsfk5a9zt3.png

Baby Quilts and A Swoon in the Planning!

October 16, 2015

I made a few more baby quilts and I think I am done for a while. =D This baby quilt was made using the Yellow Brick Road pattern. Confession: Every time I made a Yellow Brick Road quilt, I have to study and refigure out how it all goes together. I find that pattern to be so confusing to understand! Once I get cutting and sewing, it makes more sense to me. 


For these two baby quilts I used the free pattern by Quilt Taffy called Speedy Baby 2. I did change up the pattern a bit by leaving off the last border, so they ended up being smallish quilts at 36" square. Does anyone know of any twin girls that need quilts? 


Now these fabrics are what I am excited about!! They are from V & Co's newest line called Simply Colorful II. These lovelies are going to be made into a Swoon quilt as a Christmas gift for a dear friend. I have been itching to make another Swoon and I am anxious to get started! The background fabric I chose is called Pearl, a super soft gray. I think it will be stunning when done. At least I hope so!! 


Thanks for stopping by! Have a happy weekend! 

 photo 2015_sig_zpsfk5a9zt3.png

Baby quilts and a new guest room

October 5, 2015


Two more baby quilts finished and in the ready to gift pile. =) 


I had to make this sweet sheep from Lori Holt's book Farm Girl Vintage and hang it in my kitchen. I need a whole flock of these cuties! 


On the home front, we finally finished refinishing the wood floor and painting our guest bedroom a soft happy yellow. This weekend, we bought a new adjustable bed for us and moved our old bed into the guest room. The room needs curtains, a bed skirt and other finishing touches, but the big jobs are now done. 


Next spring/summer, the plan is to refinish the floor in our room and give the room a new coat of paint. After 10 years, its time for an update. The quilt is cute, though! =D


As always, thanks for stopping by!! 

 photo 2015_sig_zpsfk5a9zt3.png

Mary Had a Little Lamb

September 29, 2015

I guess it's Little Bo Peep and not Mary! ;-)
This sweet lamp found its way home with me last weekend. She is perfect for my sewing room! 


She lives on my pressing table and she serves a purpose, besides being cute. I have the lamp and my iron plugged into an outlet strip that is held onto the side of the cabinet with Command strips. I turn my iron on with the switch on the outlet strip and the lamp is turned on at the same time. I can always tell if my iron is on and hot by the lamp being lit as my visual cue. Lamp off, means iron is off. I use a vintage iron mainly because it is hot and heavy, which is great for pressing seams and because it is vintage, it doesn't have the automatic turn off feature. This setup is very helpful to remind me to turn the iron off when not in use. There is my little tip of the day! =)

Have a happy Tuesday!

 photo 2015_sig_zpsfk5a9zt3.png
Related Posts Plugin for WordPress, Blogger...