Showing posts with label Bonnie and Camille. Show all posts

Vintage Holiday ~ 2019 Christmas Quilt

December 20, 2019

Getting ready for Christmas!! 


I really love this fabric...


All ready to snuggle under while we wait for Chrismas Day!


Village

November 29, 2019

I purchased Village by Miss Rosie's Quilt Co several years ago when there was a sew-along happening in the blogosphere. I didn't have time to join in, but I wanted to make one. Then other great quilt ideas jumped into the line and this one got pushed farther back. You know how it is...One of the bloggers I read (I can't remember who! *blush*) recently finished hers and it inspired me to get it out and get it done! 


These are the original charm packs of Bonnie and Camille I pulled from my stockpile for this project, however, when it came time to open them and mix them up, I couldn't make myself open the Scrumptious charm pack. It went back into my stash with the other two Scrumptious charm packs to be used for a project I haven't fully decided on yet. 


I replaced it with Little Snippets, instead. 


I like to chain piece. It makes piecing blocks so much quicker and you can save a lot of thread. I began with the roofs and then began construction (see what I did there? 😆) on the houses.  


Pretty little houses all in a row...


My BIG tip for this quilt. Pin or use Clover Wonder clips to stabilize the rows to each other before sewing them together. Even though I was very careful, some stretching happened and my rows were not going together well at all! I took them apart, measured to make sure they were all the same length, and they were, so I knew I had to pin or clip them together to keep them lined up correctly, which is what I should have done in the first place. I was being lazy and I paid for it. When I used the Clover clips, the rows went together perfectly with no issues. So pin, pin, pin or clip, clip, clip! 


It's a scrappy one!! Maybe a bit too scrappy? I would do some things differently next time. For example, for some of the houses, I would use the same fabric for the square above the door as the sides of the house to make it a little less scrappy. It is what it is. ☺️

 Now that Thanksgiving is over we will be decorating our home for Chrismas today and I need to get my Christmas quilt quilted and soon! 

Anyone going Black Friday shopping today??


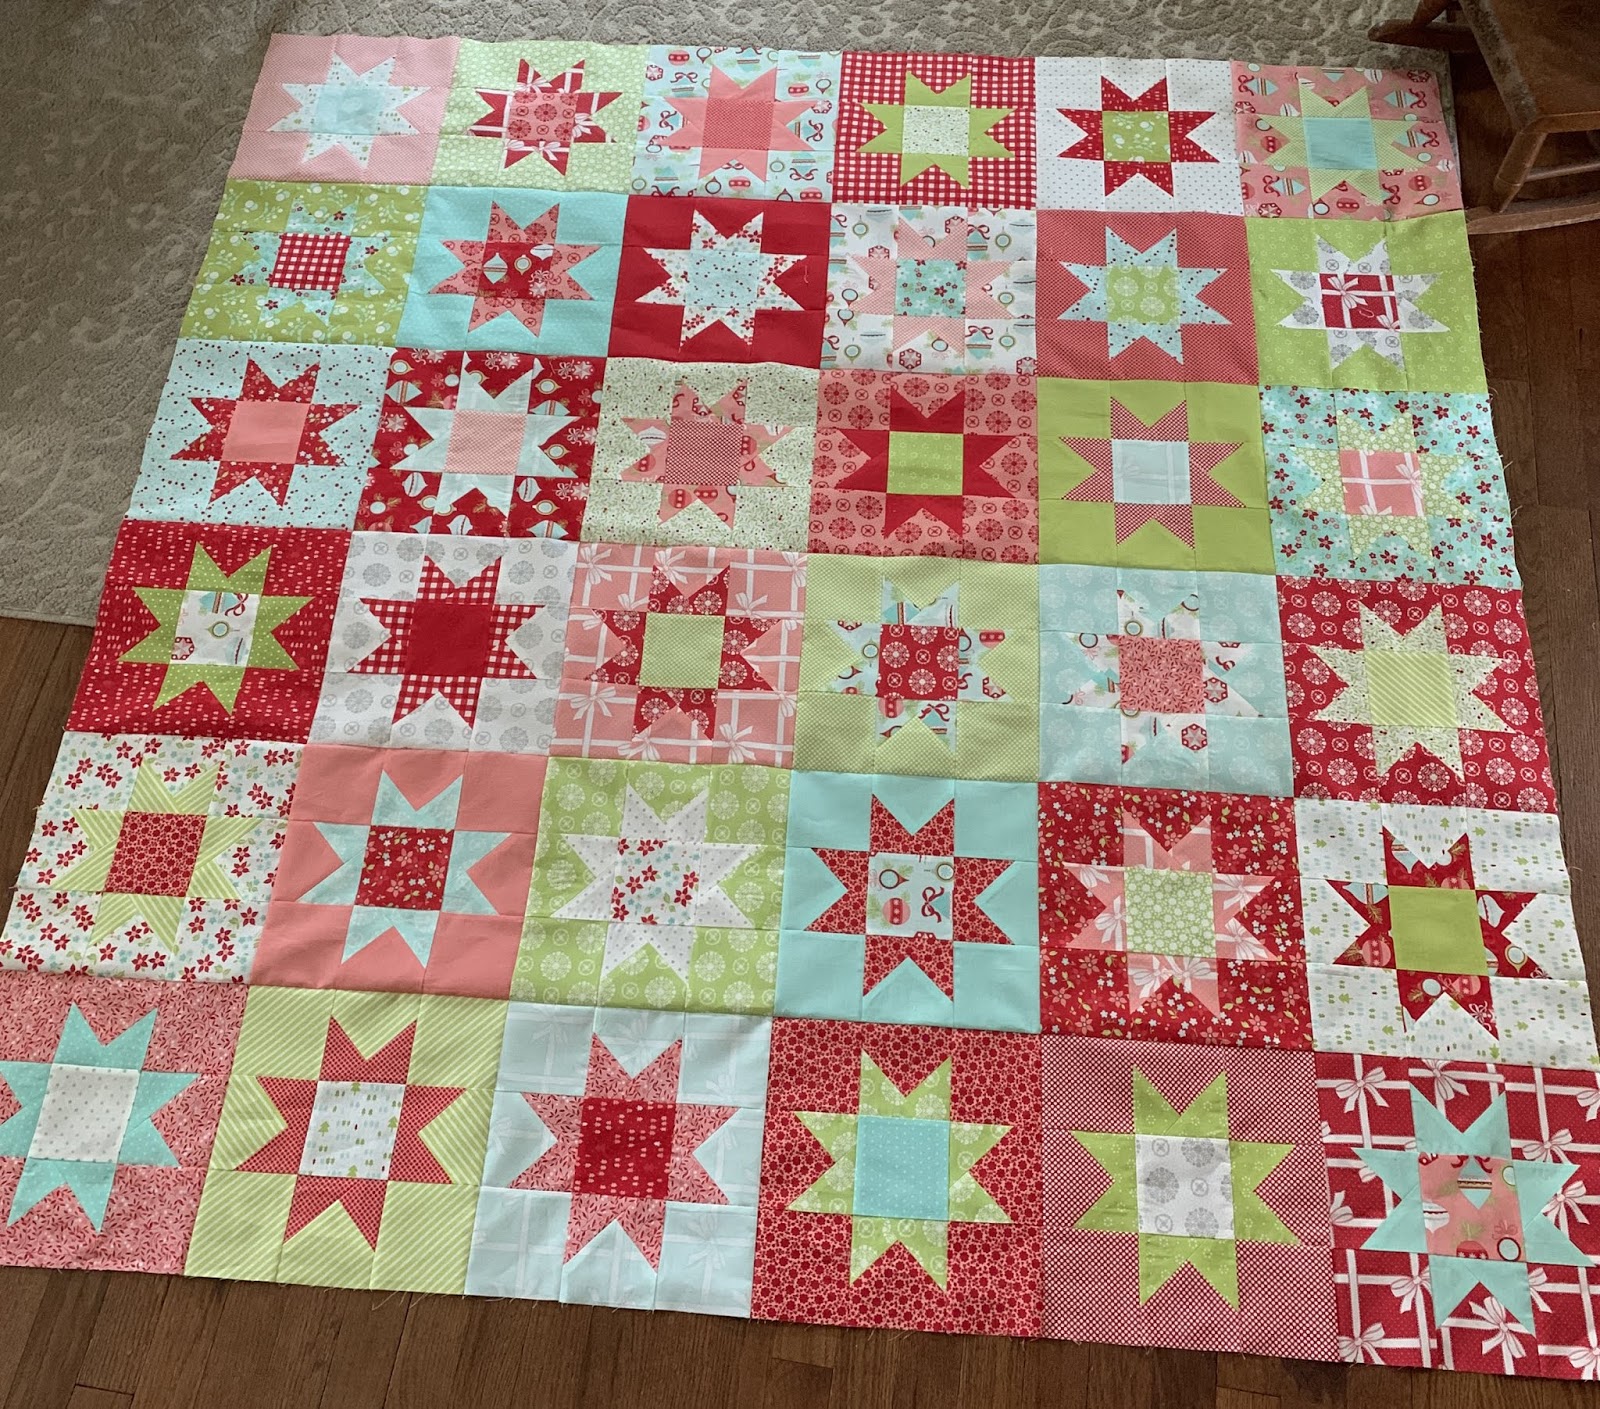
Vintage Holiday ~ No Point Stars

November 21, 2019

Remember when I mentioned in my last post how I was going to reward myself with a fast and easy quilt out of Vintage Holiday?

And I was not going to overthink about it??

Here it is!!


I need to get it basted and quilted before Christmas!! 


Another snowy day...

February 12, 2019

Here in Iowa, we have been hit with snowstorm after snowstorm. Today, we are once again digging out from another 6" that fell overnight. The winds will be picking up, gusts of 45 MPH and temperatures are dropping. It's days like this I am thankful to be able to stay home! 


While being snowed in, I have been making simple patchwork baby quilts as part of my effort to clean up my stash and make baby quilts to donate to our local pregnancy center this year. Because the weather hasn't cooperated, I haven't taken pictures of them all. As I get them quilted I will get pictures and post them. 

I also went through my minky scrap stash and took the time to piece them together to make quilt backs for baby quilts. When I pieced these two, I knew exactly what fabric I wanted to use to make the top, and quickly started cutting and piecing. No overthinking allowed!! 


I got out the low volume Bonnie and Camille fabrics in my stash and cut some 3 1/2" squares to make a 45"x54" top. 


Because I loved it so much and I wanted to use it as my lap quilt right away, I basted it and got it quilted with simple cross-hatching. 


I have decided to make this the year of simple patchwork when it comes to my scraps. I love the simplicity, they are always cute, it takes no thought and they come together so quickly. 


 I am also thinking ahead to Operation Christmas Child shoeboxes for this year. I have made tote bags in the past, but since they take up larger cuts of fabric and I am getting low on those, I have been searching for ways to use up the fat quarters I have purchased over the years that have been sitting way too long. I am considering drawstring bags. Cute and functional! 

Do you have plans to use up your stash and scraps this year?

Until next time!  


Stitched With Love

November 8, 2018

Loved making this mini quilt!! 💕


No Name Scrappy quilt

November 5, 2018

I have been spending my time getting the tops I basted this past spring and summer quilted. I don't like to have too many quilt tops sitting around and I am the same way about having too many (more than 5) tops basted and waiting to be quilted. This is the last one I had pre-basted this last spring. Unfortutuantly, now that the weather has turned cooler, the ability to use basting spray outside to baste the quilt tops that are in line to be basted has passed. They will either wait until spring and summer to get basted, or I will baste them in the house. Not my favorite thing to do, but it is what it is...

Here is what I am calling my No Name Scrappy quilt. She deserves a name so feel free to spam me with name ideas!! 


I made it with the 2 1/2" squares in my Bonnie and Camille scrap bags. Earlier this year, I went through all my scraps and precut them to size. When I was cutting my B&C fabrics, I knew I had to make something with them ASAP and that's how this quilt was born. 


Some of the square in a square blocks are made with 4 patches and others are 4 1/2" squares. It finishes up at 64" x 64". A nice lap size...


I quilted it in a spiral square on point. I started it with a flower-like design in the pink square then started the square spiral from there. 


 While I was outside getting pictures of the quilt, I couldn't resist snapping a picture of the last two flowers that are hanging on...For now! 


Until next time!! 


Sew Sweet Bee 2017 - Friendship Love

November 1, 2018

I finished my 2017 Sew Sweet Bee quilt this week. 
You can find the tutorial for the Friendship Love block here. 


The carpet of leaves look pretty...


My label along with the label made by Denny @laughsewgarden. 


This weekend we will be busy raking up the pretty carpet of leaves. *wink*

Barn Star II, a shop sample

September 19, 2018

Sometime in the next couple of months, I will be teaching a class on how to piece this darling little quilt by Corriander Quilts called Barn Star II.  For the sample, I chose the fabrics Vintage Holiday by Bonnie and Camille. 


I am usually wary of charm pack patterns because they often tell you to cut the 5" charms in fourths and even though mathematically, I should end up with 4 - 2 1/2" squares, I never do. They end up smaller and I have to adjust seam allowances when piecing. Often times, I end up with things that don't line up and piece together well. Instead, when I use patterns that call for 2 1/2" squares, I cut them from fat quarters or from scraps. Never a charm square. This pattern did not call for any 2 1/2" squares. Yes, there was some waste with the charm square, but the pieces are cut accurately and thus, it pieced together like a dream. I will make this pattern again! 

Do you have a favorite charm pack pattern? 

Until next time! Have a happy, quilty day!


Big Baby ~ Baby Quilt

June 6, 2018

A few weeks ago, I took advantage of a warm and non-windy day to power baste 5 quilt tops that had I had backings already made for them. This was one of them. It's called Big Baby by Gigi's Thimble. It's an extra large version of her Scrap Jar Star and can be found in her book "Vintage Vibe."  


I chose to densely quilt it with my walking foot using the serpentine stitch on my Bernina. On my machine, it is stitch number 4 and I stretched it out a little bit. I don't recall the exact number, but I think it was 2.75.


When I do quilting like this, I start with quilting on all the seams. In this quilt, I had 9 even rows. Then I divide each of the 9 rows in half and add another quilting line. Then I divided each of those rows in half and added another quilting line. Every time I did that, it multiplied how many more lines I had to quilt between. I almost quit when my quilting lines were roughly 1/2" apart, but I made myself take that extra time and I added that last line to get the quilting to be approximately 1/4" apart and it was worth it!! The texture is amazing!! 


Here it is bound and washed. The batting is Hobbs 80/20. Not my favorite batting because it is pretty thin, but it was what I had on hand. It still shows up the texture nicely. 


And the beauty shots...


Have a happy Wednesday!!


Related Posts Plugin for WordPress, Blogger...