
For the last three years, I have been part of an online bee called Sew Sweet Bee. February is my turn to be Queen Bee. =) This is the block I have asked for them to make for me. It's simply a friendship star with a heart in the middle. Easy!

Here is the tutorial for a 12" finished block.
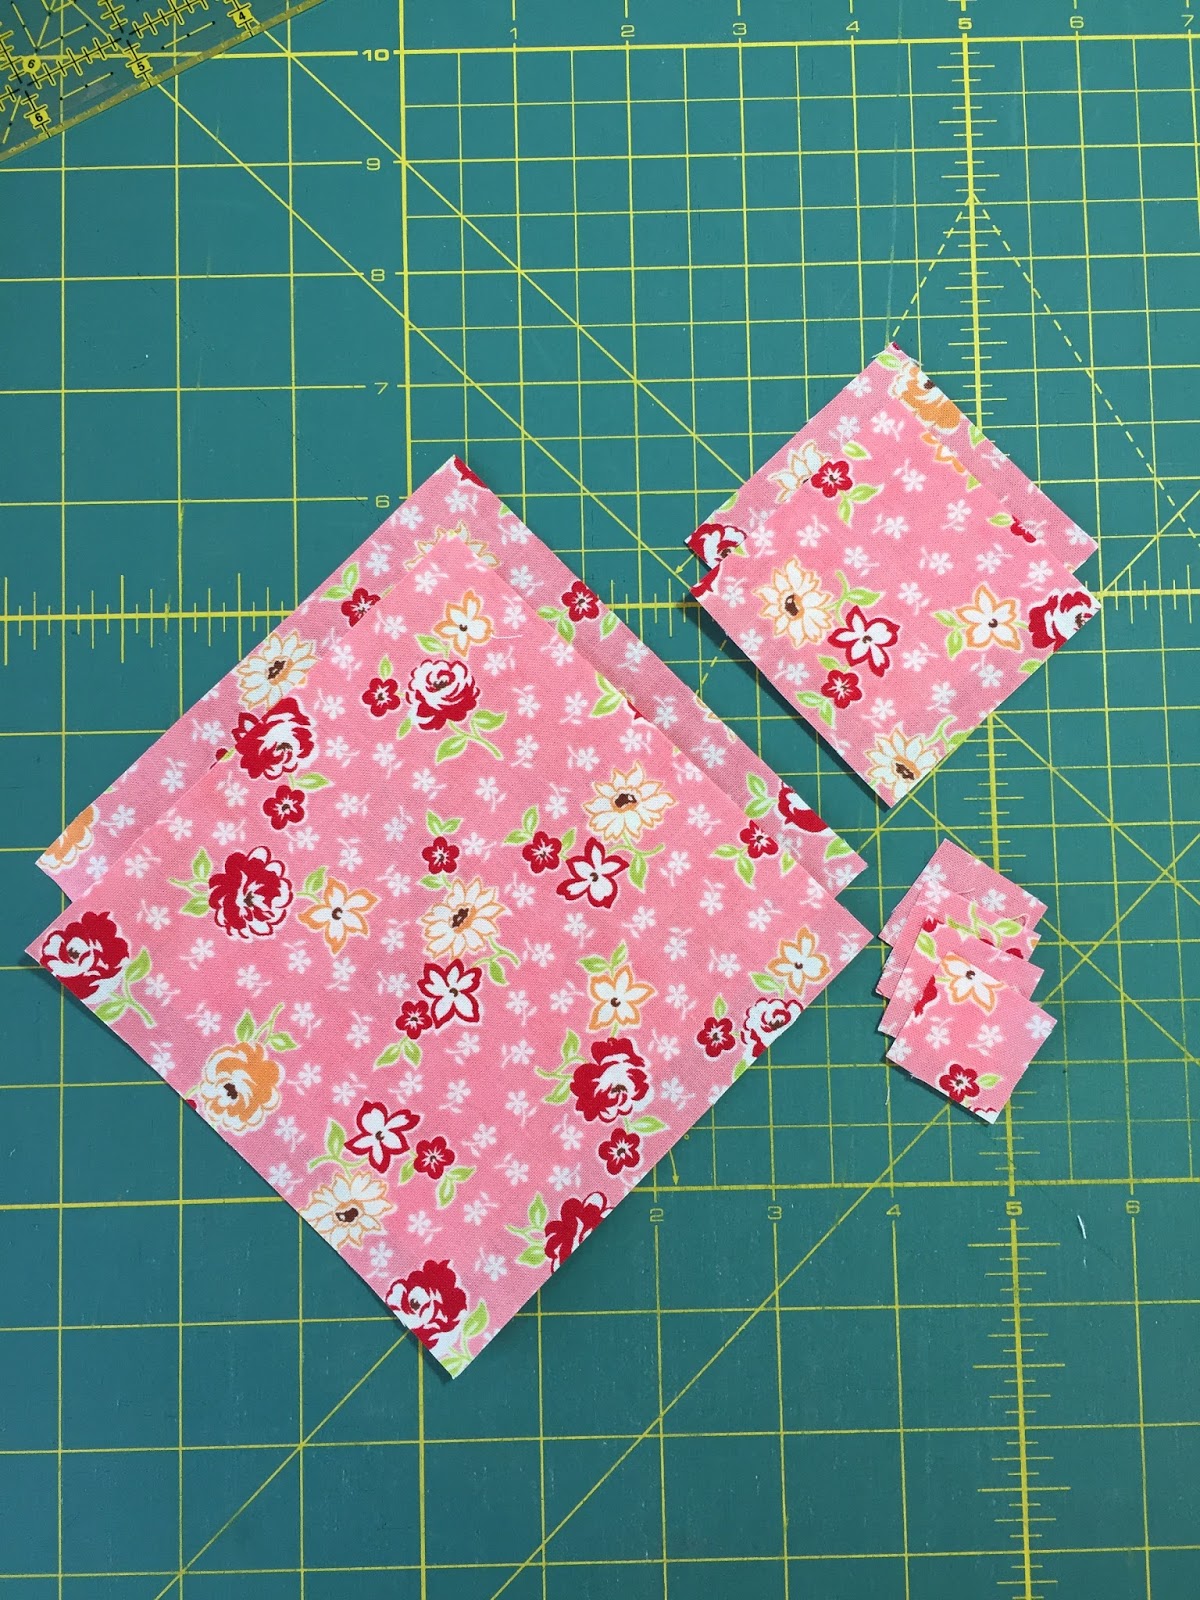
From the colored fabric you will need:
(2) 5" squares
(2) 2 ½" squares
(4) 1" squares
From the background fabric you will need:
(2) 5" squares
(4) 4 ½" squares
(2) 2 ½" x 4 ½" rectangles

Make 4 half square triangles using the two 5" colored squares and the two 5" background squares.


Trim them to 4 ½" and set aside.


For the center heart block section, I used the tutorial by Cluck Cluck Sew. Keep in mind that in my block, the heart will be made with the background fabric. In other words, it's the inverse of what she is making in her tutorial.
My pictures should help you understand what I mean. You will use the (4) 1" colored squares, the
(2) 2 ½" squares and the (2) 2 ½" x 4 ½" white rectangles.


The heart should measure at 4 ½".

I forgot to take a picture of the next step which is to take all nine of the 4 ½" squares and lay them out in a 9 patch grid. You need to make sure the half square triangle blocks that are making the friendship star are spinning in the correct direction. I know you can figure it out. =) Then you simply sew them together like a 9 patch and press so the seams nest. The block should measure 12 ½" (12" finished).

Aren't they cute!

Let me know if you have any questions!
Have a happy day!


Yes, they are really cute! I love the tutorial too :)
ReplyDeleteThis is so cute! Love that heart in the centre! Thank you, Amy!
ReplyDeleteThose are so cute. Thank you for the tutorial also.
ReplyDeleteOh, wow.... these are really really cute. I want to make some of these hearts.
ReplyDeleteHappy Tuesday Amy, I hope you have a fun day.
I am taking daddy to the mall.... he needs to get out and he loves to look at stuff.
It will be fun. It is not too cold here and we have not had much snow this winter.... I hope that remains so, easier to get around.♥️
A very sweet block!
ReplyDeleteThis is so adorable, Amy. Thank you for the tutorial!
ReplyDeleteThanks for the tutorial, I appreciate being told what size each section needs to be trimmed down to, that helps a lot!
ReplyDeleteSo gorgeous block.Thaks for the tutorial!
ReplyDeleteCute block! Thank you for the tutorial!!
ReplyDeleteYou are very welcome!!
DeleteDarling block and fabulous tutorial. Could you please tell me what kind of rulers you are using in these pics? I am pretty new to quilting and building my tool inventory. Thank you :)
ReplyDeleteThank you, Catherine!
DeleteThe long skinny ruler is by Omnigrid which I use for marking the lines for my half square triangles. Some draw one line corner to corner on their squares and sew ¼" on both sides of the line to make their half square triangle. My sewing foot doesn't work well doing that, so I mark two lines and sew on the line. The picture should help you understand what I mean.
The other ruler is the 6 ½" BlocLok ruler that helps you create perfect half square triangles. I make my half square triangles a smidge larger and trim them to the correct size using the BlocLok ruler. It is the best ruler!!
I hope this helps you! =)
Pretty! I love hearts, probably because I always get valentine type stuff for my birthday lol
ReplyDeleteSuch a cute block! Thanks for the tute!
ReplyDeleteSuper cute, Amy, and thanks for the tute!
ReplyDeleteVery Very Sweeet!! haahaahaa!!
ReplyDeleteThank you for this lovely block! I've made the basic Friendship Star block into projects for friends, but now can add the heart in the center! Are you still quilting? I just found your blog when Craft Gossip featured your block today. I'd love to hear more from you!
ReplyDeleteJust saw your tutorial today and had to try it out. It turned out so adorable, easy and fun to make, I will be making them for a quilt I am putting together for my 3vyear old niece ... thank you for sharing!
ReplyDelete