
A couple of years ago, I made a French ribbon board. My office has changed looks a lot since then, but one thing has stayed, my french ribbon board. I love it...
Fast foreword to yesterday. I needed some Goodwill therapy and look at what was waiting for me.

And what could be more perfect for my sewing room than to use than the Moda ribbons I have been collecting to make a french ribbon board. Woot!
I confess, I imagined I was demonstrating a Moda Bake Shop project...
and then got over myself. *grin*
First up was to transform the green frame into white. Spray paint has become a new best friend in recent weeks. While the frame was drying I began on the board itself.
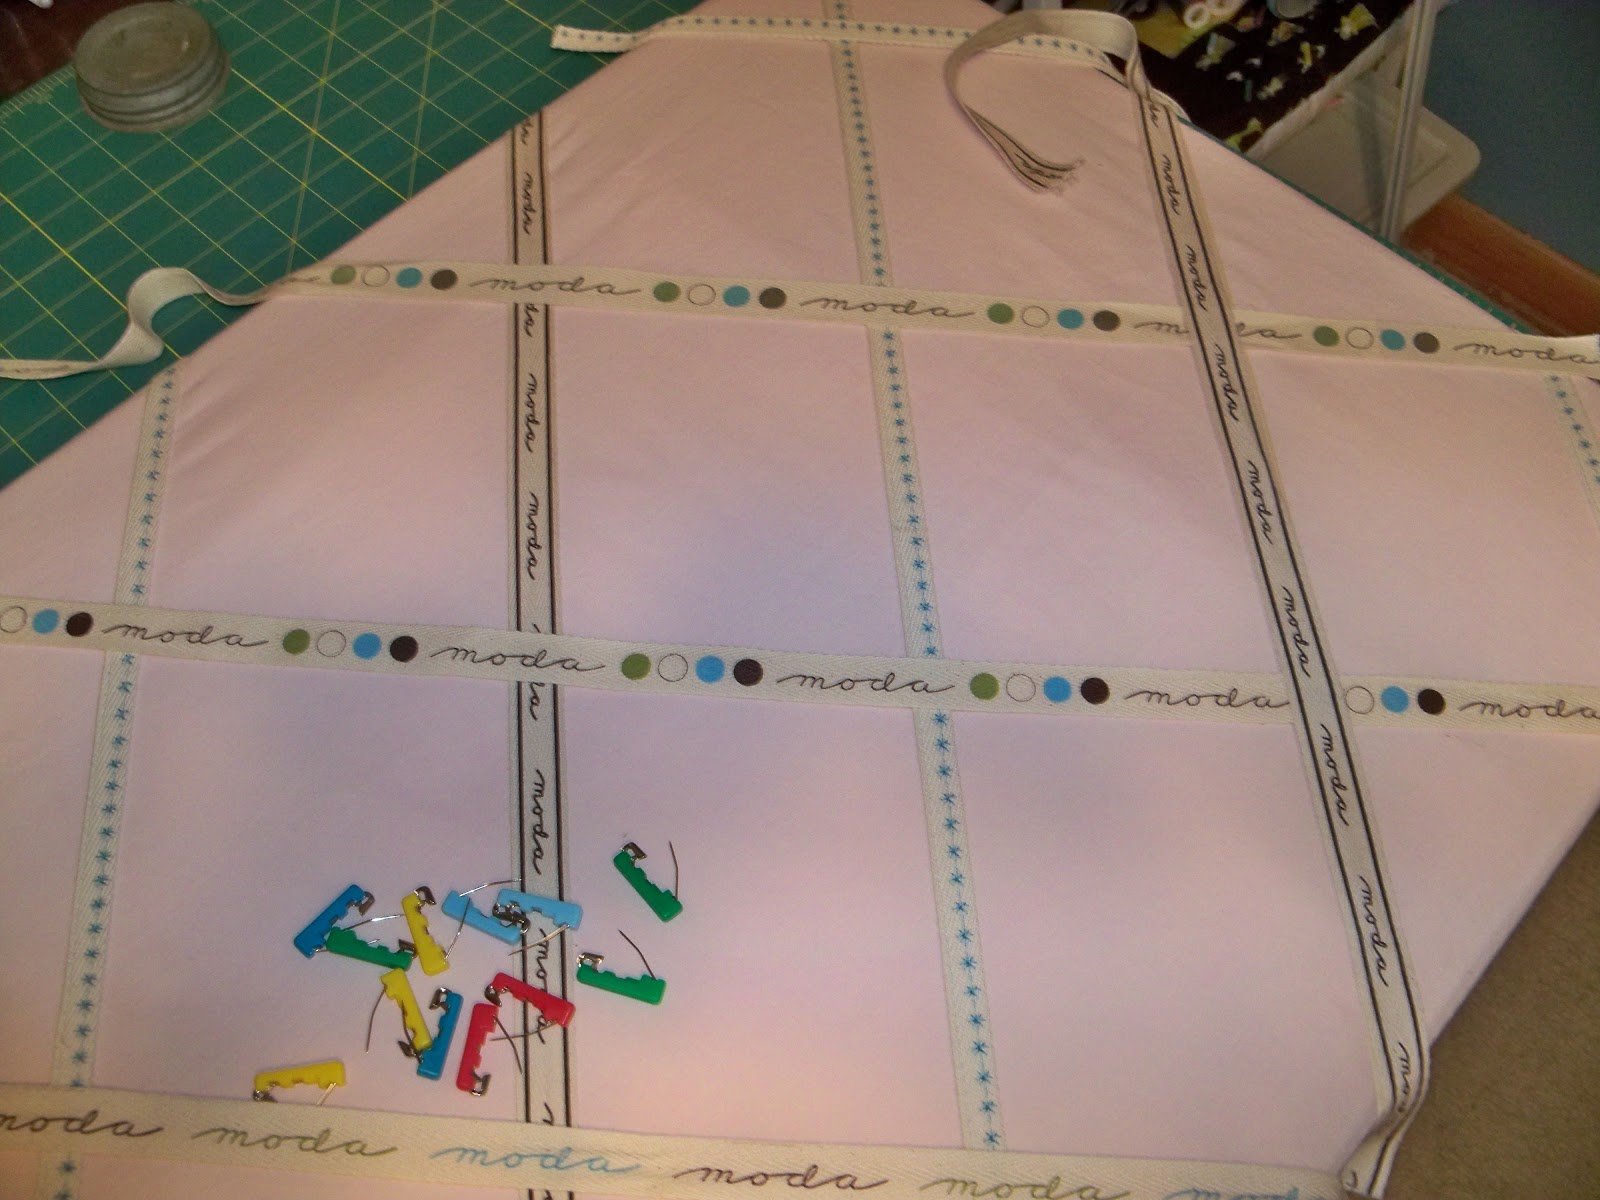
My first decision was what fabric to use to cover the board. I briefly entertained the thought of using some of my Moda fabric I have tucked away, but quickly dismissed that idea. I can always change my mind later, but the thought of using such pretty fabric on the board and then covering it with pictures and such, seemed silly. I also wanted the ribbons to stand out and not get lost on pretty, yet busy, fabric, so I settled on a light pink bed sheet salvaged from, where else, Goodwill.
I didn't have quite enough of the Moda ribbons, even after removing it from my Tula Pink Plume jelly roll and my Chloe's Closet Happy Daisy fat quarter bundle I had tucked away. (Sorry about the blurriness of my picture.)

I purchased some 1" cotton twill, folded it in half and sewed a decorative stitch down the center.

It took some time to get the placement just right.

Once all the ribbons found their place and were secured with staples, I added the simple furniture tacks to the places where the ribbons cross.

Replaced the newly painted frame and it's done! The project cost less than $15. Gotta love that!

Linked to Whatever You Want Wednesday link Party @:


That is SO pretty, and I love the idea of using the Moda ribbons - I never think of using them for other purposes....
ReplyDeleteJust looks so wonderful.....thanks for the tut!
ReplyDeleteI've been thinking about doing this very thing for quite a while now, so it was really nice to see done up!
ReplyDeleteThat is so cool! We do love GW, don't we? Have a great week!
ReplyDeletelove the transformation!!
ReplyDeletethank you for lining back!!
xoxo
Keren
I love a good thrifty project and yours is adorable! I love my GW also. Our opened this past May and I have truly enjoyed it.
ReplyDeleteWhat a great way to recycle and reuse! Thanks for sharing.
ReplyDeleteStefanie
Wow! That is so awesome~~
ReplyDeleteI am loving all things on your blog! Your pictures are so awesome and the blog so cheery. I just don't have the technical skills to get mine looking so good. I enjoyed catching up here.
ReplyDeleteGREAT! well done Amy :) thx for sharing!
ReplyDelete